Sunday, March 6, 2011

Tub-e or Not Tub-e

I wanted to check the dimensions of the tub before soldering the tub supply lines.  They look VERY close to the surface, and while I know that is because I need to build the wall out an inch I still wanted to check.  I thought you might enjoy the sequence.

Starting out.

Oops.  Won't fit.

That's better.

Turning the corner was tricky.

Oh, oh.  Too long.

It will have to come out.  The box opens at the bottom.

Out of the box.

And...in place.

There is the one-inch gap.

And back out of the way.

One thing the experiment turned up is that while the tub is beautifully leveled end-to-end, it is way off level side to side.  I will have to build up the floor. on the side away from the wall.  I don't want to drop the stringer on the wall because the tub is designed to have a certain clearance off the floor.  You void the warranty if the tub sits on anything..

Supply Plumbing

Today  I worked on the hot and cold water lines.

Here are the pieces I cut last night.  They are for the tub and shower valves.

All shined up.  You have to sand all the corrosion off.

Now fluxed and assembled.  The flux chemically cleans the copper.

And soldered.

Here I have assembled some of those bits onto the valve and mounted it for the bathtub.  Nearly everything away from the valve is temporarily assembled ("dry fit").  You want to make sure everything fits together before you start soldering.

Notice the clever re-use of the old closet shelves!

Here are a few of the array of fittings I assembled for the job.  Many will go back to the store; I didn't know exactly what I would need.


I spent the afternoon dry-fitting the hot and cold water supplies in the basement.  Doesn't it look all tidy?


Everything is 3/4" pipe until the last branch to the fixture (which is 1/2"), and I did what I could to avoid turns.  Mummy can explain the mathematics of fluid dynamics.  I'll just tell you that it helps keep the water pressure from dropping at one tap when another is in use.  Helps.  We are still limited by the 3/4" line that comes into the house.  It encourages you to conserve water anyway, and we are lucky to have high water pressure.

Saturday, March 5, 2011

Plumbing Progress

I told you that I was working with a three-dimensional puzzle involving PVC, copper, and wooden pieces.  I finally started putting some bits together today instead of just trying to solve it in my head.

I have been to the hardware store pretty much every day for two weeks as I tried to decide the pieces I would need.  Today, when I was actually assembling plumbing, I needed THREE MORE trips.  It would have been four, but I decided to do something different when I ran out of PVC cement.

Part of the challenge is that there is more than one way to assemble the plumbing so that it will work and is up to code, but some of those ways are much harder to assemble than others.  The other part of the challenge is that in the interest of not wasting space I gave myself very little working room.  I actually had to delay putting in some parts of the walls until I had the waste stack in place.  I also had to change tactics several times.

This is the new waste stack, as seen looking from the girls' lavatories toward the boys' shower.  The extra verticals are because the new stack was just a little far from the boys' sink and the far girls' sink to vent them properly:


Here is the now-completed wall between the two bathrooms.  Do you like my fancy vent loop?  And yes, those horizontal pipes go through three studs.  Some careful assembly required.


I didn't want to move the roof vent, so I had to make a nice jog over to the old vent.  The line coming in from the right is from our bathroom.


Detail from the boys' shower side.  The bottom fitting you see was the critical one to place.  I had to figure its placement and get it to levitate there so I could build the rest from that point.  I didn't have any leeway with it because of the drains coming in from the sinks.


With the upstairs DWV in place (still have the basement to go) I could finish the wall behind the girls' vanity:


All told I made 45 PVC connections today.  That was 45 places I had to get everything just right so it would go together and have the right slopes.

A few last pictures.  Just past 1 am here.

Copper pieces ready for assembly tomorrow.  I quit cutting them because it was 11:30 pm and I had worn a blister.  Tomorrow I'll wear gloves while cutting copper pipe.  I'm happy because I figured out where I will run all the pipe.  The assembly goes much faster when you have a plan.


Almost ready for the tub.  The stringer is up and the drain hole is cut.  I expect to place the tub tomorrow, after putting together the water lines.

A Game of Inches

I told you that figuring everything out was taking a while. That is because optimizing two bathrooms means getting the most out of the space between them.

In the case of the boys bathroom my biggest concern is space in front of the loo. I purchased a compact elongated design because it will be much more comfortable than the old round one. But that also means that it takes a few more inches of floor space.

I decided that the right answer was to replace the 8" wall between the bathtub and the boys' bathroom with a 6" one. Most of that wall needed to be redone anyway to accommodate a slightly different placement of the medicine cabinet and to make alcoves in the girls' shower. Plus the placement of the original plumbing meant that the studs were so cut up that they were held up by the tile rather than the other way around.

I could reduce the wall to 6" by moving the vent stack 18" over so it would be between the boys' shower and the girls cabinets. I could "easily" do that because I am adding a 4" wall behind those cabinets to hold the girls medicine cabinets. The wall behind the show is now 12".

This was the wall.

 
After a few seconds with the reciprocating saw

I was a little surprised when the floor came up with the wall.  It turned out that several of the floor boards were not nailed to the joists.  They were held in place by the wall.  I decided that I really didn't want to continue dealing with them and I slapped down some plywood subfloor there, too.

New bathtub subfloor in place.
Notice that the boys' floor was already done.


Beginnings of the new wall in place.

You build this kind of wall one stick at a time.

In the picture above the square areas will be alcoves over the girls tub.  I thought it might be nice to have some new spots to precariously balance all the bottles.

Coming Clean

You guys have sounded so disappointed by the paucity of blog entries that I have decided I will have to let you in on the secret.  I am doing the boys' bathroom, too.

I've had to be a bit imaginative with the photos not to make it too obvious.  But now that I am doing the shared plumbing between the two bathrooms?  Impossible.
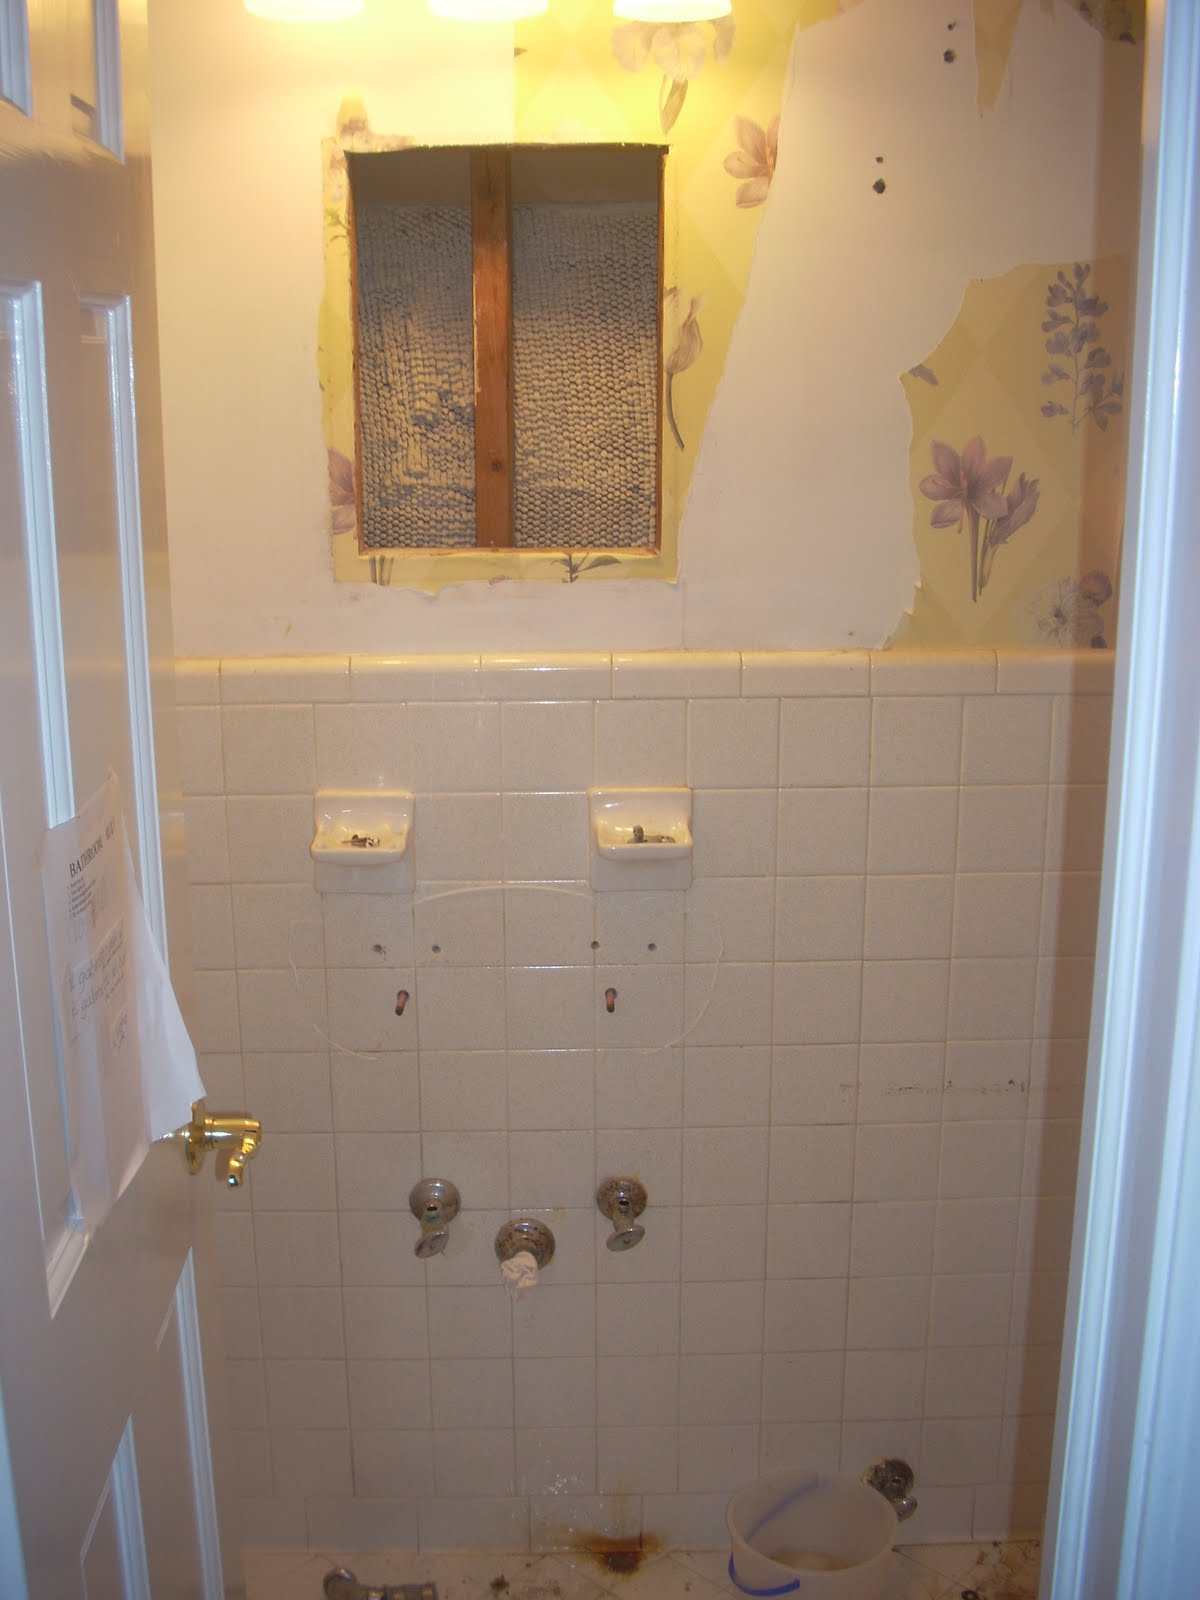
So, just so you can remember what it looked like...


It is awfully hard to take a photograph of a small room!

I don't have nearly as many pictures of the destruction of the boys' bathroom.  Sorry, but at the time I was busy trying NOT to photograph it.  Suffice it to say that if was doing something the the girls' bathroom I was doing it to the boys' bathroom, too.

These were from the first week, after I removed the fixtures.


These pictures are from the second weekend, after I had removed the tile and sheetrock and cleared the rubble.

You are looking towards the sink.

Who put a crow bar in the shower?
An interesting detail of the boy's bathroom was the shower pan: lead.


The curb was made of a double layer of brick laid inside the lead shower pan.

Lead is a bit interesting to remove.  You can't break it--far too malleable.  You can cut it, with some effort.  I used tin shears around the drain.  I didn't try melting it.  I'm sure that would have been fun, but it would have caused a real problem downstairs and the fumes would have been unhealthy.  I ended up balling it up as best I could and then doing the he-man thing to move the resulting big, heavy ball outside.  I can attest that crumpling lead does not make it lighter.

One lead meteorite

Well, that is enough for one entry.

An Edible Present

I had a little present from the Deerys waiting for me on the porch when I made trip out to Home Depot this morning. One dozen farm-fresh eggs.

Hmm. I have some nova. I think I have a plan for breakfast tomorrow. Yum!
Posted by Picasa

Good Morning from Smudge

I thought a few of you kids might like to see Smudge. He makes his appearances in the morning and spends the rest of his time in bed. Poor thing, he is just like an old man bent with age. I never see him stretch out anymore.
Posted by Picasa